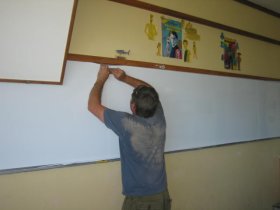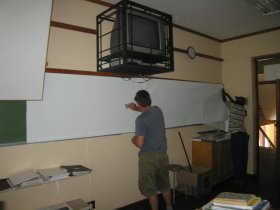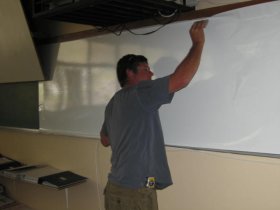

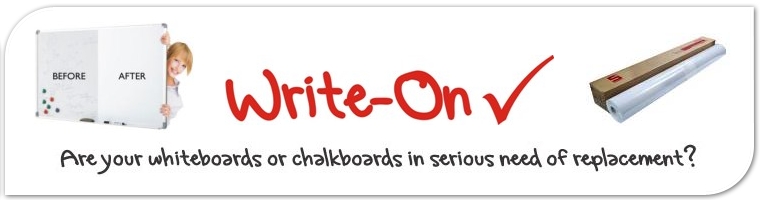


Write-On Application Instructions for WhiteboardsSTEP 1: IT TAKES TWO PEOPLEIf your self adhesive whiteboards are big. You will need four hands and a little patience.
STEP 2: PICK WHERE YOUR WHITEBOARD WILL GOMeasure to be sure you have enough space. Ideal surfaces are flat and smooth such as painted walls, old worn whiteboards and chalkboards. Your Write-On whiteboard should not be installed on a newly painted surface. Most painted surfaces require a minimum of 24 days to completely cure.
You can use your hand or a soft cloth to smooth the material. Be sure to work bubbles towards the edges. The material is repositionable so you can lift it off of the wall and reapply it if necessary.
Self-Adhesive Surface Films for Whiteboards
All Content © Copyright 2011- 2018 Write-On Whiteboard Self-Adhesive Surface Films for Whiteboards
|